What is Onboarding?
Onboarding is the guided setup you see the first time you log in to Timetics AI. It walks you through choosing an account type, connecting your calendar, creating your booking page, and setting your availability.
Follow the steps below to get started quickly.
Step 1: Choose Your Account Type
When you log in for the first time, select how you want to use Timetics.
- Personal Account – For managing personal meetings or individual services
- Business Account – For client work, paid services, or team management
Select the option that fits your needs and continue.

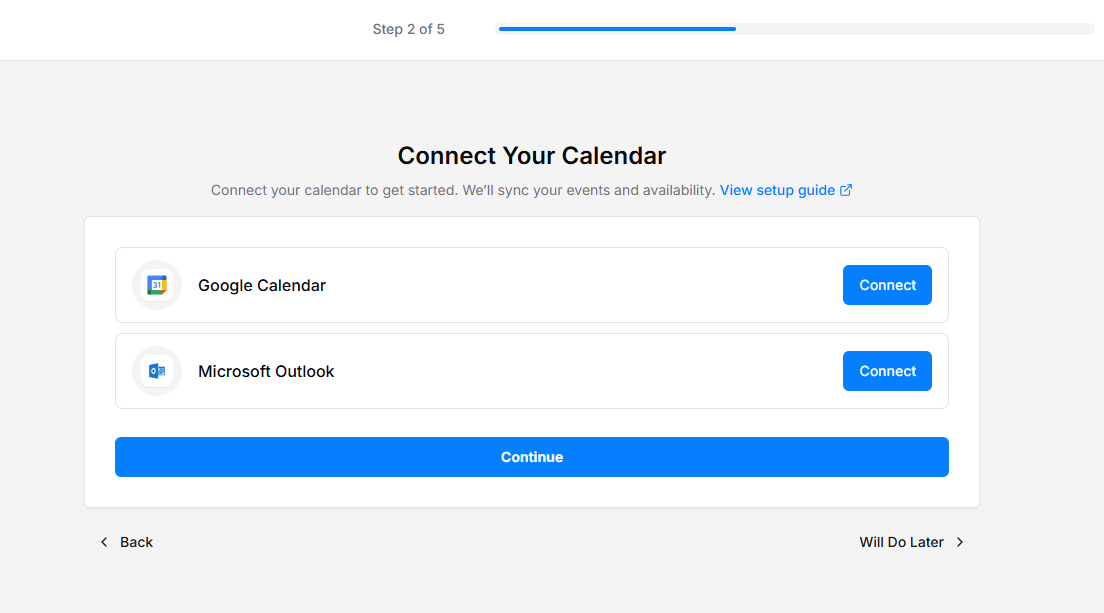
Step 2: Connect Your Calendar
Connect your calendar to sync availability and avoid conflicts.
This helps to prevent double bookings, Auto-sync meetings, and Keep your schedule updated in real time.
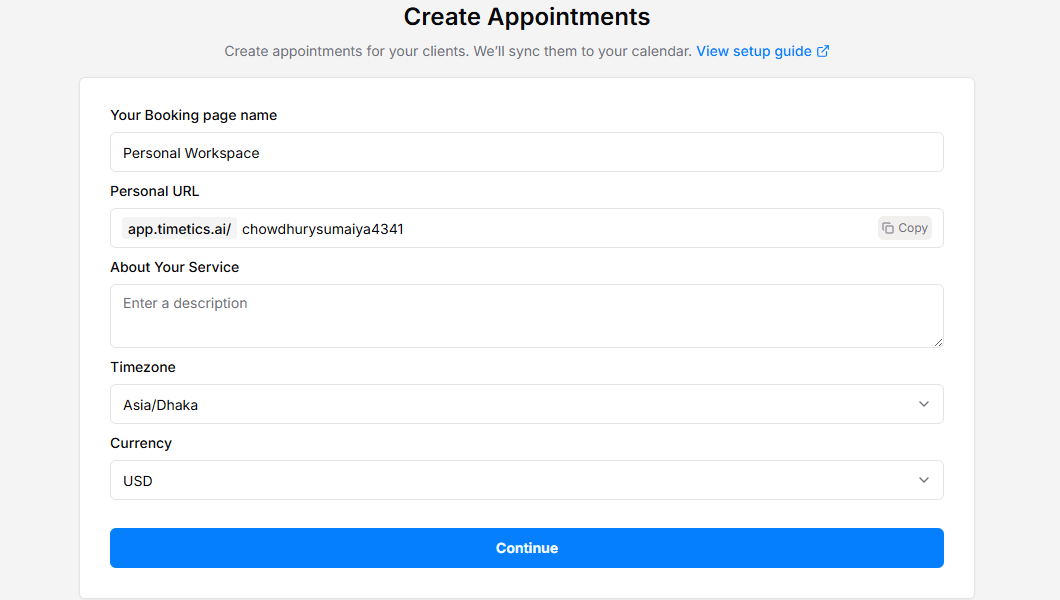
Step 3: Create Your Booking Page
To set up your public booking page, fill in Booking Page Name, Service Description, Timezone, and Currency. Click Continue to proceed.
Step 4: Set Your Availability
Define when people can book you.
You can: Turn days on or off, Set working hours per day, Add multiple time slots, and Copy time slots to other days. Click Continue when finished.

Step 5: Customize Appearance
Match your booking page with your brand.
Options include:
- Uploading a logo
- Choosing a brand color
- Selecting a calendar layout (Month / Week / Day)
Click All Done! Go To the Manage Booking Page.

🎉 Your booking page is live.
Share your link, accept bookings, and manage everything from your Timetics dashboard.